

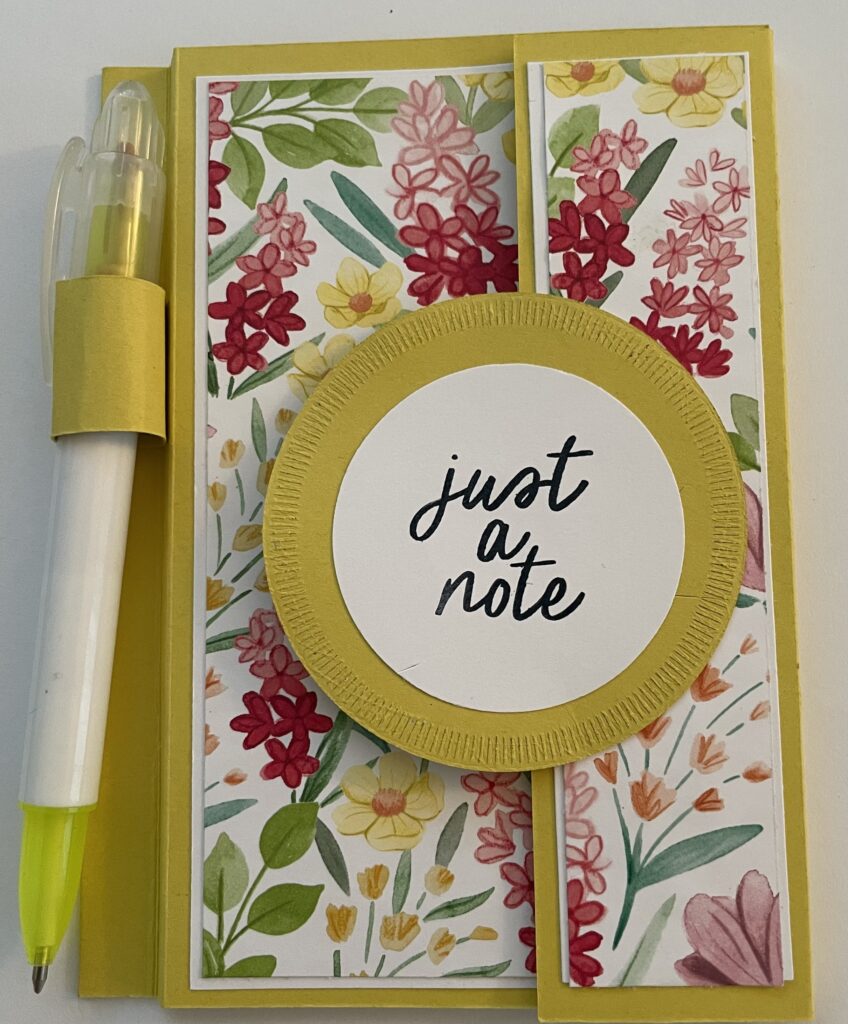
One of the things I love most about this note pad holder is how easy it is to customize. Simply switch out the cardstock and Designer Series Paper, and you’ll have a thoughtful gift for birthdays, holidays, teacher appreciation, thank-you gifts, or even craft fair sales. It’s a practical project that comes together quickly and uses just a few supplies.
Stampin’ Up! Supplies & Cutting Measurements
Cardstock and Designer Series Paper
Darling Duckling Cardstock
Darling Duckling Cardstock
- One piece measuring 5-⅝” x 10-3/16″
- With the long side at the top of your Paper Trimmer, score at:
- 1-½”
- 1-¾”
- 5-⅞”
- Rotate to the opposite side and score at:
- 6-⅜”
- 6-⅝”
- With the long side at the top of your Paper Trimmer, score at:
- One piece measuring 2″ x 5-⅝”
- Score at 1″ from each end
- One piece measuring ¾” x 1-⅞”
Score at ⅜” from each end
- One 2-¾” circle
Basic White Cardstock
- One 2″ circle
Designer Series Paper
- One piece measuring 3″ x 5″
- One piece measuring 1-¼” x 5″
Additional Supplies
- Small 3″ x 5″ note pad (mine came from Walmart)
- Pen
- Tear & Tape Adhesive
- Multipurpose Liquid Glue
- Velcro dot or circle closure
- Coordinating stamp set and ink for sentiment
Assembly Instructions
Create the Base
- Fold and burnish all score lines on the 5-⅝” x 10-3/16″ cardstock piece.
- To create the holder shape:
- Fold the first three score lines as mountain folds.
- Fold the fourth score line as a valley fold.
- Fold the fifth score line as a mountain fold.
- Apply Tear & Tape to the back of the third folded section and adhere it to the adjacent panel. This creates the flat channel where your pen will rest.
Add the Note Pad Pocket
- Fold and burnish the score lines on the 2″ x 5-⅝” cardstock strip.
- Apply adhesive to the folded end tabs.
- Adhere the strip to the inside of the holder, creating a sleeve.
- Slide the cardboard backing of the note pad into the sleeve to secure it in place.
Create the Pen Loop
- Fold and burnish the score lines on the ¾” x 1-⅞” strip.
- Form the strip into a loop large enough to hold your pen comfortably.
- Add glue to the folded tabs and adhere the loop approximately ¼” down from the top of the flat pen channel on the left side of the holder.
Decorate the Holder
- Adhere the 3″ x 5″ Designer Series Paper piece to the front panel.
- Adhere the 1-¼” x 5″ Designer Series Paper strip to the narrow panel on the right side.
- Stamp your sentiment onto the 2″ Basic White circle.
- Layer the stamped circle onto the 2-¾” Darling Duckling circle.
Add the Closure
- Turn the layered circles over.
- Apply glue to the far right edge of the larger circle and adhere it to the narrow front panel of the holder.
- Attach a Velcro dot to the left side of the circle.
- When closed, the Velcro will secure the holder and keep everything neatly tucked inside.
Final Thoughts
This note pad holder makes a wonderful gift and is a perfect way to showcase your favorite Designer Series Paper. The design is simple, functional, and easy to adapt for any season or occasion. Try creating a few with different paper collections and keep them on hand for last-minute gifts!
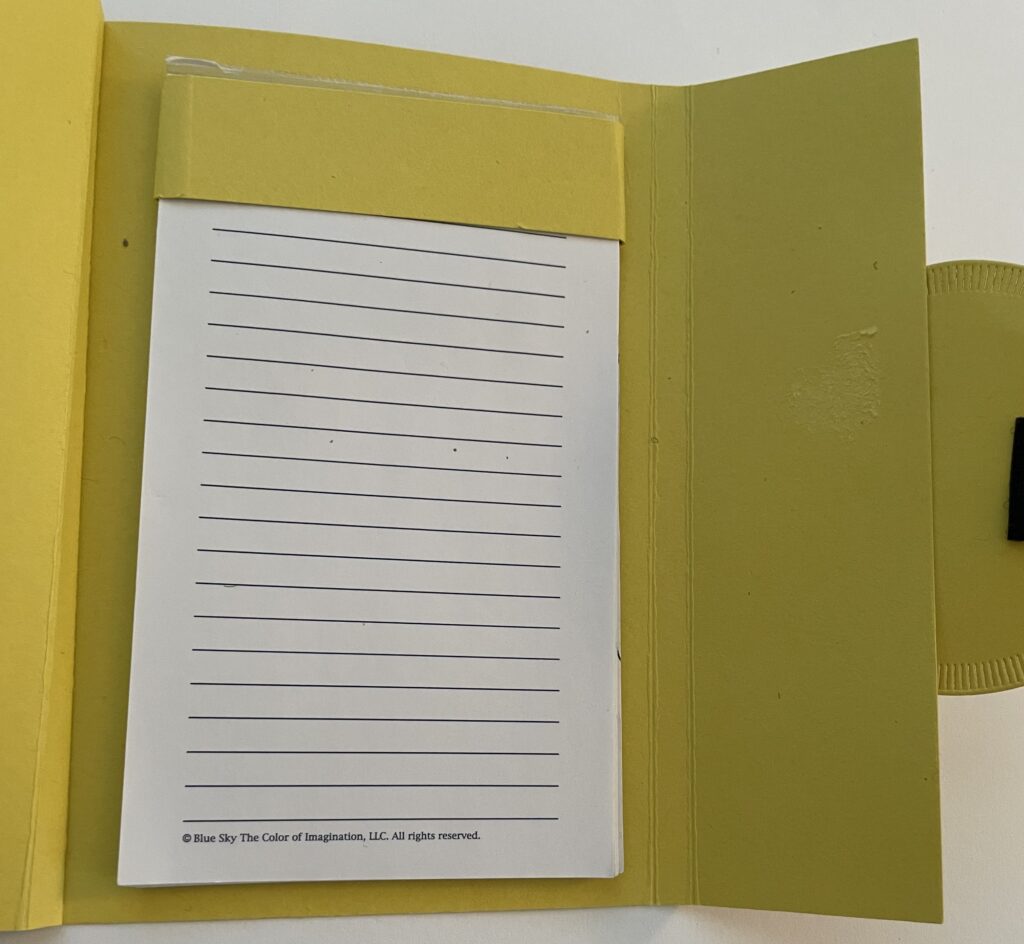
Inside of the note pad.