


One of my favorite things about paper crafting is finding new ways to use supplies I already have on hand. This week, I pulled out DSP, envelopes, stencils, card bases, and ephemera from
- past Paper Pumpkin kits,
- Kits from our Kit Collection
- and scrapbook workshop kits to create both basic and double Z Fold cards.
To add extra personality, I brought out my inks and blending brushes to decorate the inside panels. This simple step makes the cards feel finished and cohesive, while giving each fold a little surprise when opened.
Below are the basic Z Folds using past and current supplies:
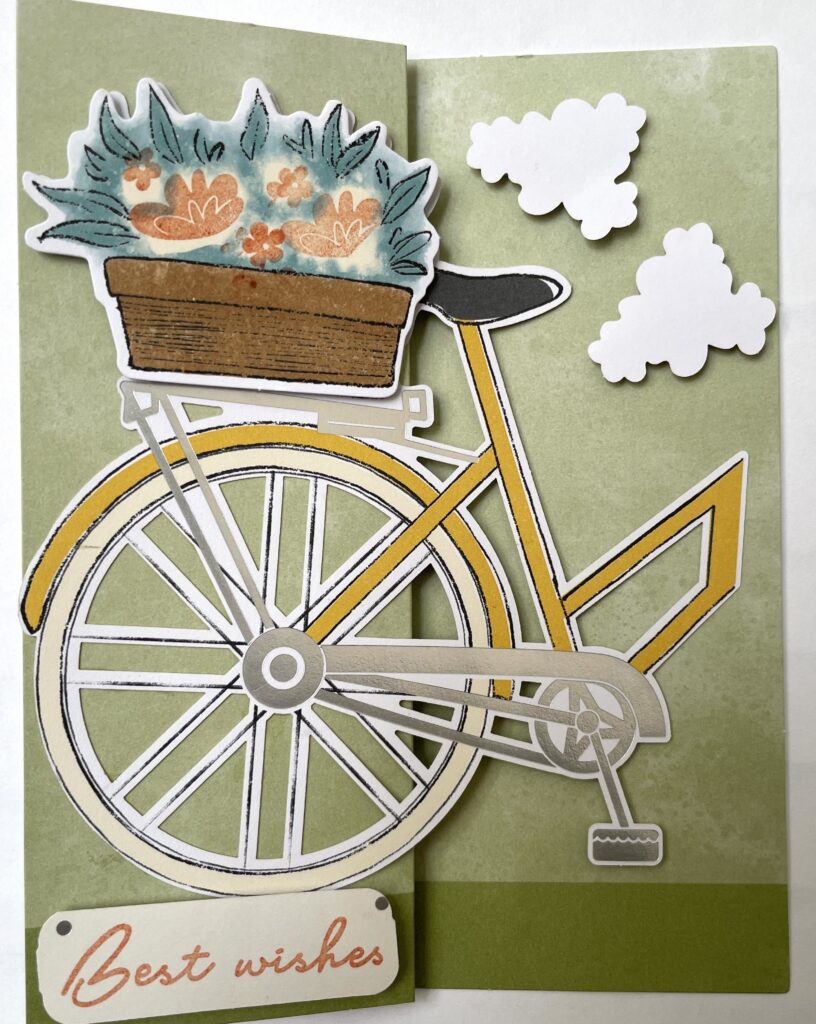
This basic Z Fold above, is made by using June 2026- Paper Pumpkin.
- A green pre-scored card base that was turned inside out and scored at 2-1/8″. The card was already scored at 4-1/4″.
- A sentiment strip from the kit. (Paper Pumpkin)
- The sentiment was from the stamp set included in the kit (Paper Pumpkin)
- The bike image also from the Paper Pumpkin kit.
- The clouds and basket of flowers that sits on the back of the bike also from the Paper Pumpkin.
The time to get this particular Paper Pumpkin Kit as a whole, has past. Refills can be purchased from the Stampin Up website.
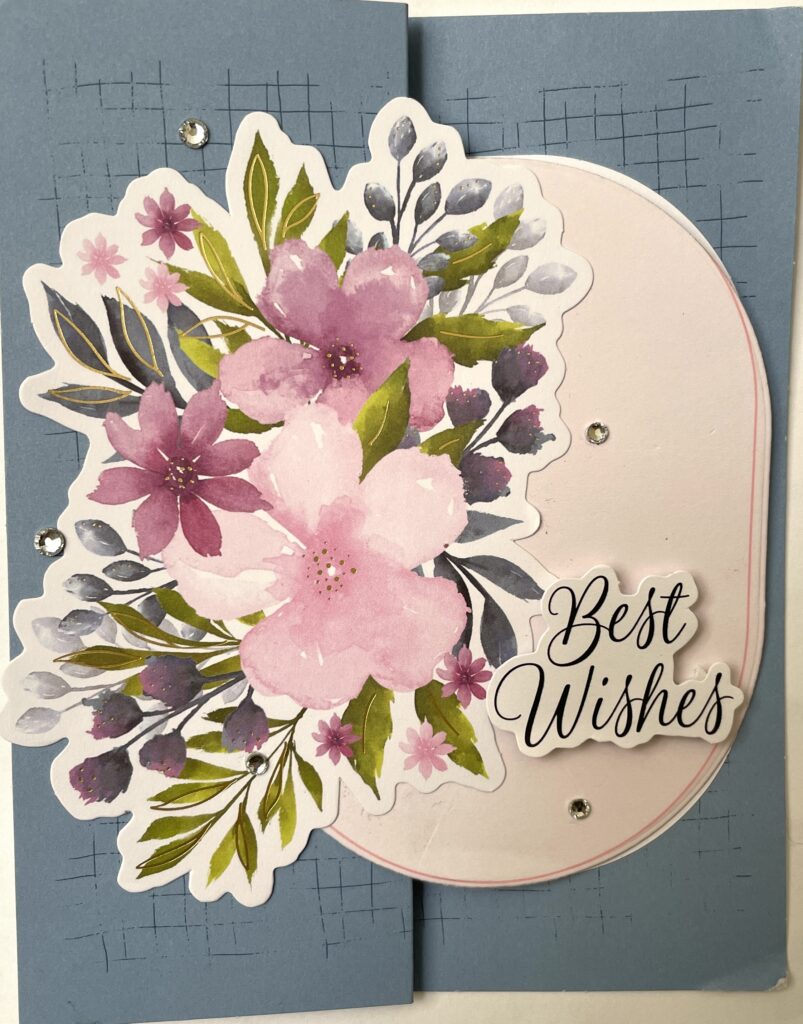
The basic Z Fold above, is made using items from
- A blue card base from a retired kit that was turned inside out and scored at 2-1/8″. It was already scored at 4-1/4″.
- Two oblong ovals from the Happy Happenings Kit #167271. They are pink on one side and white on the other. I used the pink side for the outside sentiment and the white side is showing on the insert.
- The sentiment is from the Greetings For All Mix & Match Ephemera Pac (#164862)
- The floral piece is from my stash. I believe it also came from a past kit.
- I used the Rhinestone Basic Jewels (#144220) for additional embellishment .
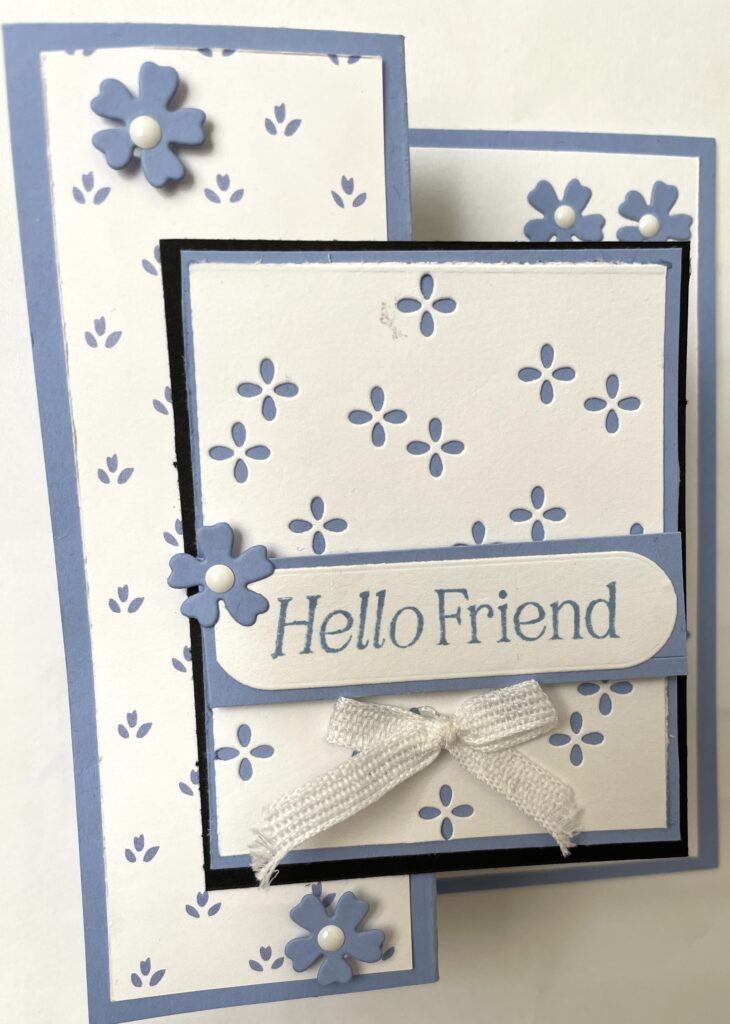
The basic Z Fold above, is made from;
- A piece of Hydrangea Hue cardstock (#167687) that measures 8-1/2″ x 5-1/2″. With the 8-1/2″ side at the top of the trimmer score at 2-1/8″ and again at 4-1/4″. Fold the cardstock so that fold resembles the shape of a “Z” when standing upright.
- A piece of the Paper Medley (#167759) DSP that measures 1-7/8″ x 5-1/4″. For the first slender panel.
- A piece of Basic Black cardstock that measures 3″ x 3-1/2″
- A piece of Hydrangea Hue that measures 2-7/8 x 3-1/4″. Layer on Basic Black layer.
- A piece of Basic White cardstock that measures 2-5/8″ x 3″. This piece of Basic White is run through a cut & emboss machine using the die from Lovely Arrangements, it is adhered on top of the Hydrangea Hue and Basic Black pieces
- The small background die from the Lovely Arrangements dies (#167175) This gives texture and interest to the Basic White layer that will house the sentiment.
- A strip of Hydrangea Hue that measures 3/4″ x 2-3/4″ that will be the bottom layer for the sentiment.
- A strip of Basic White that measures 1″ x 3″. Stamp your sentiment.
- I used “Hello Friend” from the stamp set Lovely Arrangements (#167169)
- I cut out the sentiment with the die for sentiments in the Lovely Arrangement dies
- A piece of Basic White for the insert that measure 4″ x 5-1/4″ . You can decorate as you wish and use any sentiment you wish.
- I used some flowers that happened to be Hydrangea Hue and came from my stash.
- I used white ribbon from my stash.
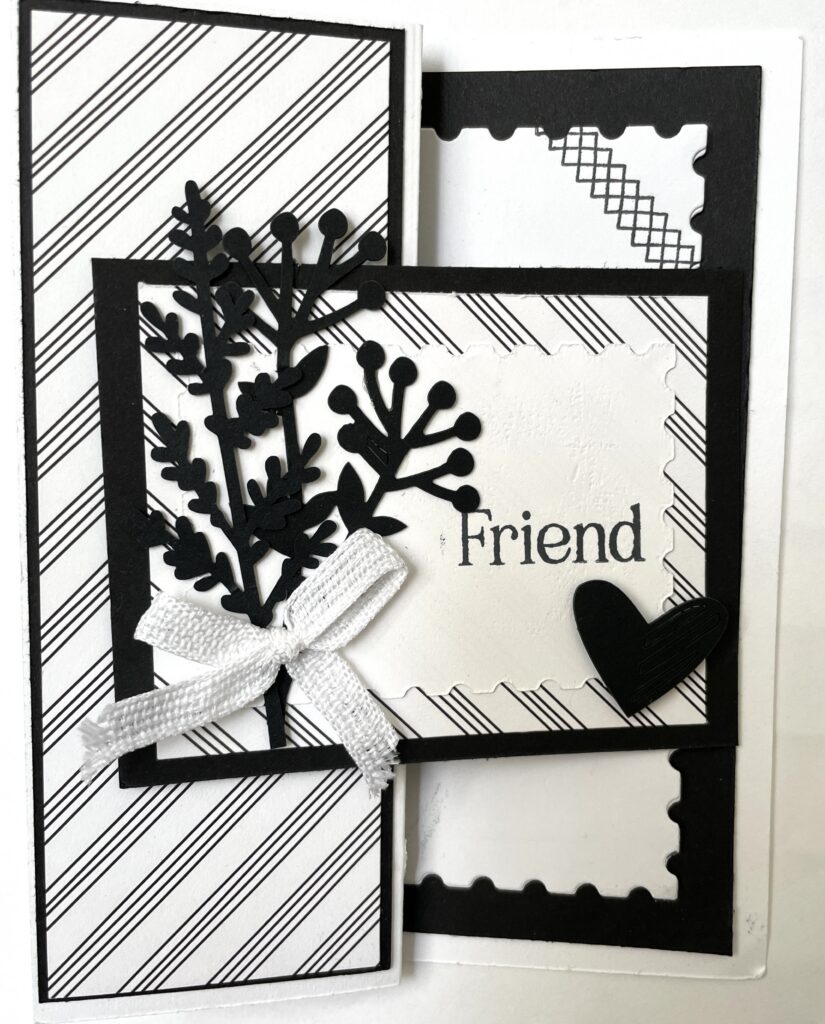
The basic Z Fold above is made mostly from current supplies
- A piece of Basic White cardstock that measures 8-1/2″ x 5-1/2″. With the 8-1/2″ side at the top of the trimmer score at 2-1/8″ and again at 4-1/4″. Fold the cardstock so that fold resembles the shape of a “Z” when standing upright
- Perennial Postage dies (#162607) to cut insert and the white rectangle for the sentiment.
- A piece of Basic White that measures 4″ x 5″ for insert that is cut down with the Perennial Postage die.
- A piece of Basic Black that measures 4″ x 5-1/4″. This is the bottom layer for insert.
- (2) Strips of Basic Black that measure 1-7/8″ x 5-1/4″
- (2) strips of the black striped DSP from the Paper Medley DSP that measure 1-5/8″ x 5-1/8″ Layer these strips onto the Basic Black and onto the front folds of the card.
- A piece of Basic Black that measures 2-3/4″ x 3″
- A piece of the striped DSP that measures 2-12″ x 2-3/4″ . Layer this onto the Basic Black rectangle.
- A piece of Basic White (I used and inside of an envelope I had previously cut up) that measures 2-3/4″ x 3-1/4″. Then I used one of the Perennial Postage dies to draw interest
- I used the Floral Flight Accents (#167558) from the Beautiful Ordinary Life Suite to embellish the card.
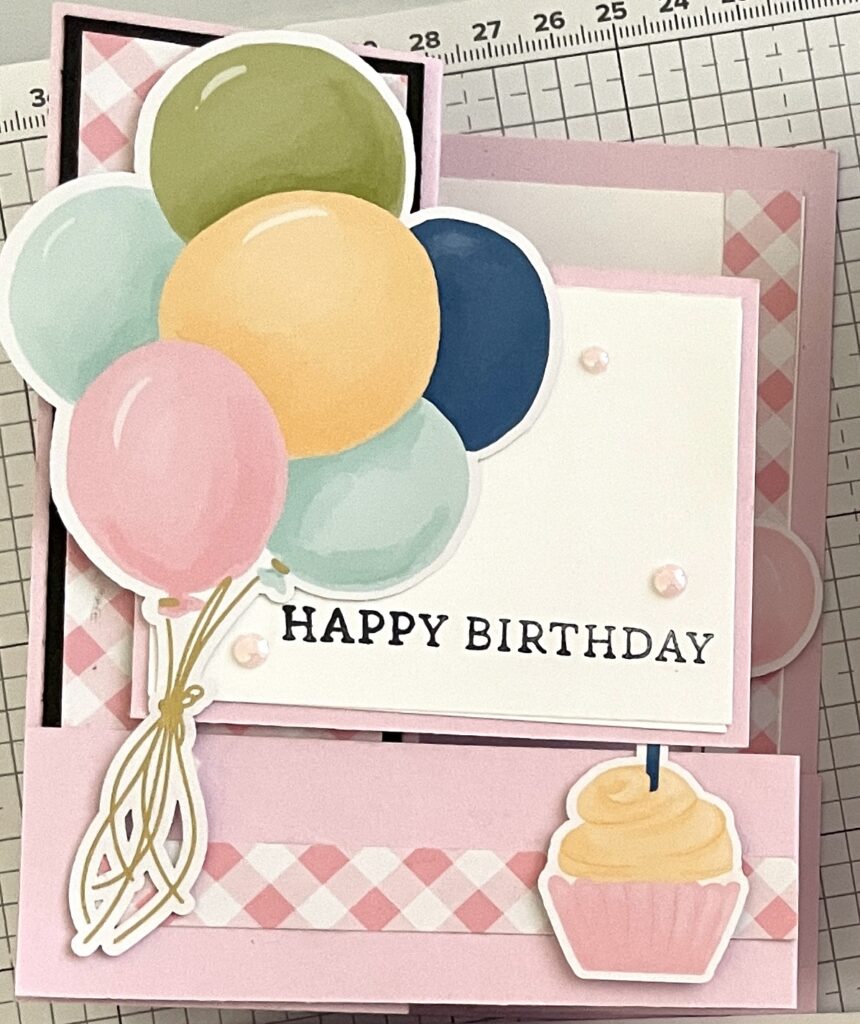
A highlight of the session was a Birthday Z Fold card made with the Birthday Workshop kit. The playful colors and layered folds made it a standout project, and it reminded me how versatile these kits can be when combined with stash items.
Below in the video you can see how I used a basic Z Fold and elevated it to a Double Z Fold. So just click the arrow to see more.