

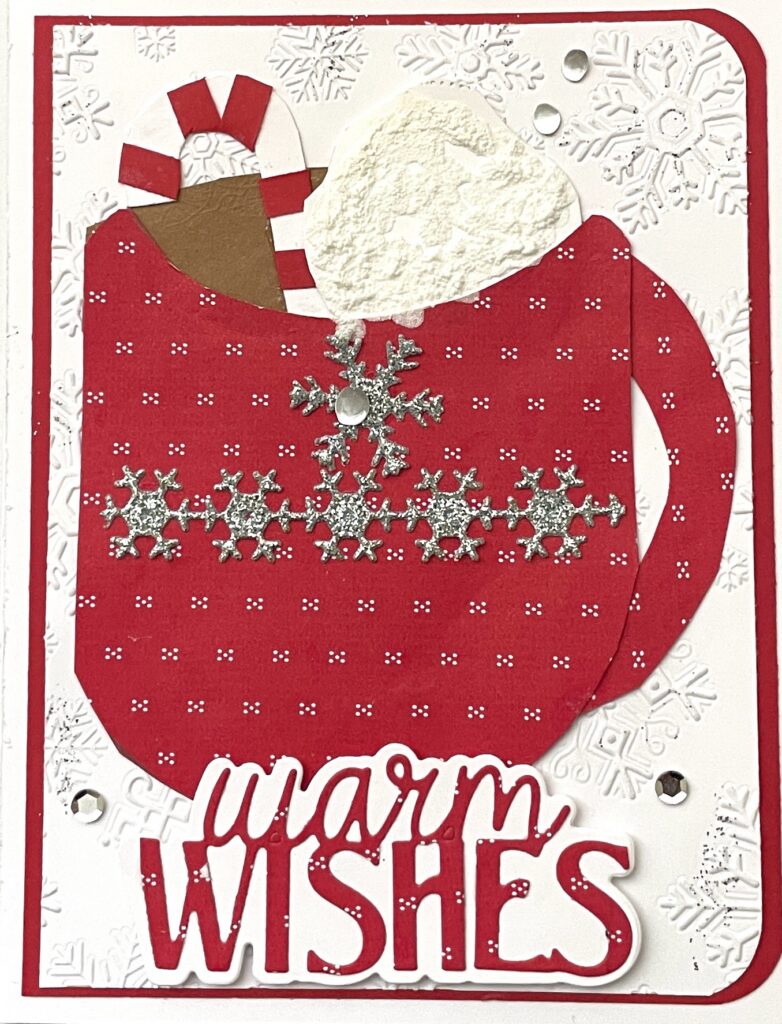
Some of the best projects begin when I stop asking what a die is supposed to do and start asking what else it could do. Today I was looking at my circle dies and thinking is there any way I can use these dies to create a mug for a mug of cocoa card.
Below my finished card.
Supplies
- Basic White Cardstock (4-¼” x 11”), scored at 5-½”
- Designer Series Paper (DSP):
- One piece 4″ x 6″, scored at 3″
- One piece 4″ x 3″
- Basic White Cardstock: (166780)
- Two pieces 3-¾” x 5”
- One piece 4″ x 4″ for whipped cream
- Dreamy Snowflakes Embossing Folder (168384)
- Two piece Real Red cardstock 4” x 5-¼” (102482)
- Spotlight on Nature Dies (163580)
- Christmas Crew Dies (168376) – candy cane
- Snowflake dies (168385)
- Warm Wishes sentiment
- Birthday stamp set with frosting image (used as whipped cream)
- Marvy White Snow Marker 3-D
- Bone Folder (102300)
- Paper Trimmer (152392)
- Heat tool (129053)
Preparation
- With Trimmer cut a 4-¼” x 11” piece of Basis White cardstock. Score at 5-½”
- Cut two 4” x 5-¼” pieces of Basic White cardstock. One to be embossed in the Dreamy Snowflake embossing folder and the other will be the insert of the card
- Cut 2 4” x 5-¼” pieces of Real Red cardstock. One will be the bottom layer of the front of the card and other the bottom layer of insert
- Cut a piece of DSP to 3” x 6”. Score @ 3”
- With a circle die, draw a curve at one end of the folded piece of DSP . This is the bottom of the cup.
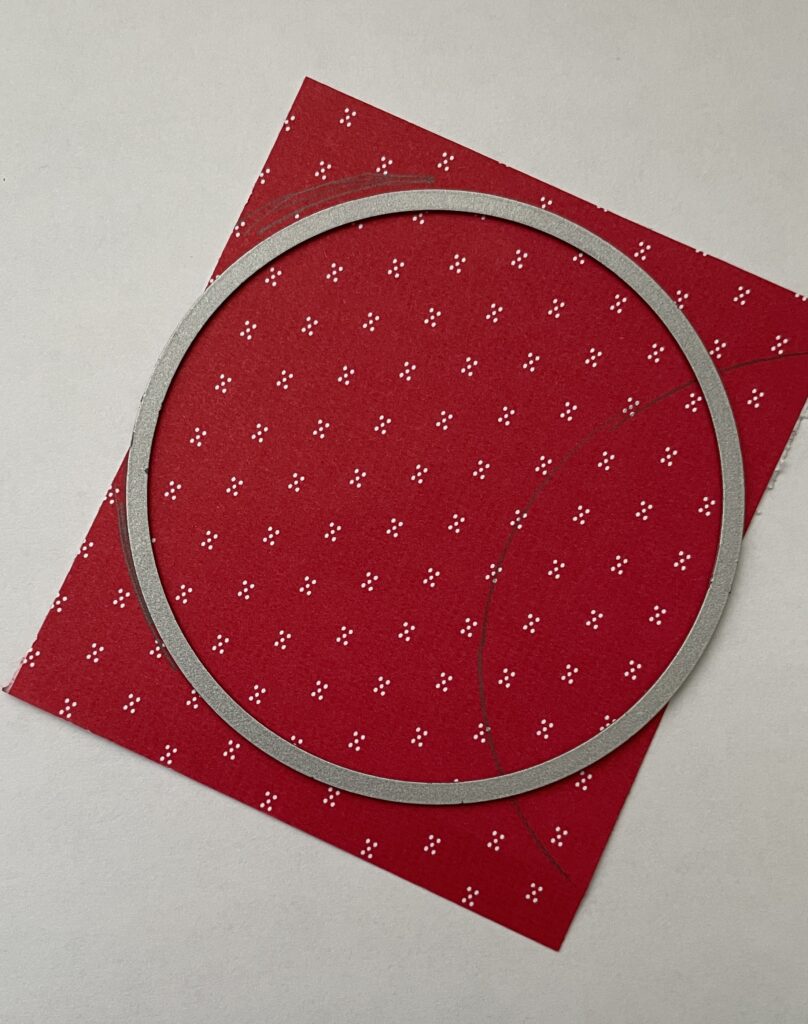
6. At the other end use the same circle die to create a “U” shape which would be the top of the cup.
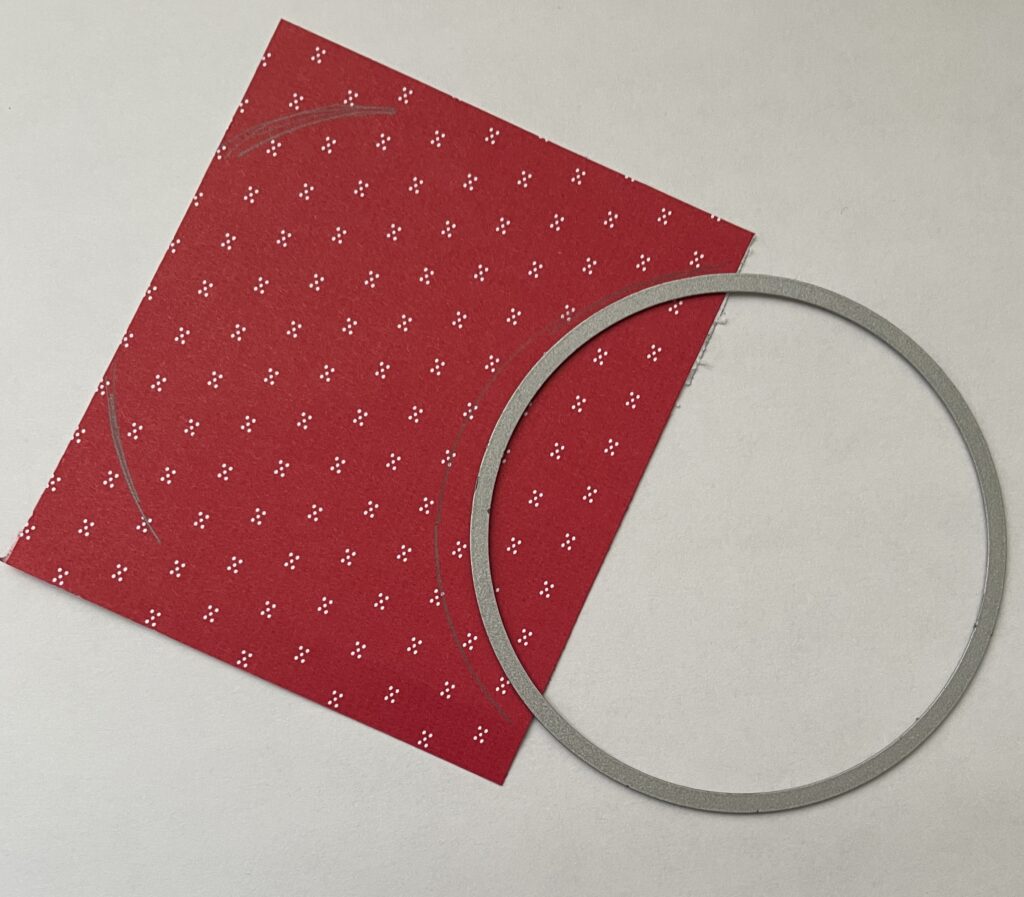
7. Use the same circle die to create the handle. Place the handle on the inside of the folded DSP.
8. Place adhesive on the inside edge of the folded DSp and onto the curved bottom. With the handle placed on the adhesive fold the unglued side onto the other creating a mug.
9.Stamp and color the stamped image of the whipped cream ( actually is the stamped image of frosting from this retired stamp set). Fussy cut following this image making it a bit larger. Place it so it looks like it is the whipping cream on top of the cocoa.
10. With the snow marker brush the snow on the whipped cream image.
11. With heat tool heat up the liquid from snow marker and it will puff up.
12. Adhere the mug onto the layered card base.
13. Add a candy cane (cut with the Christmas Crew Dies) and place that with the whipped cream.
14. With snowflake die cuts from the dreamy snowflakes decorate the mug. (Feel free to decorate as you wish).
15. You can cut up cardstock to create sprinkles if you want or you can use a splatter stamp and create a sprinkle of cinnamon.
16. Create your sentiment and adhere just under the mug. (I used the Warm Wishes sentiment).
17. Stamp your inside sentiment on the second piece of Basic White cardstock and adhere to the inside card.
Tips
I absolutely love my Spotlight on Nature dies. A set of nesting circle dies are quite valuable in any craft room.